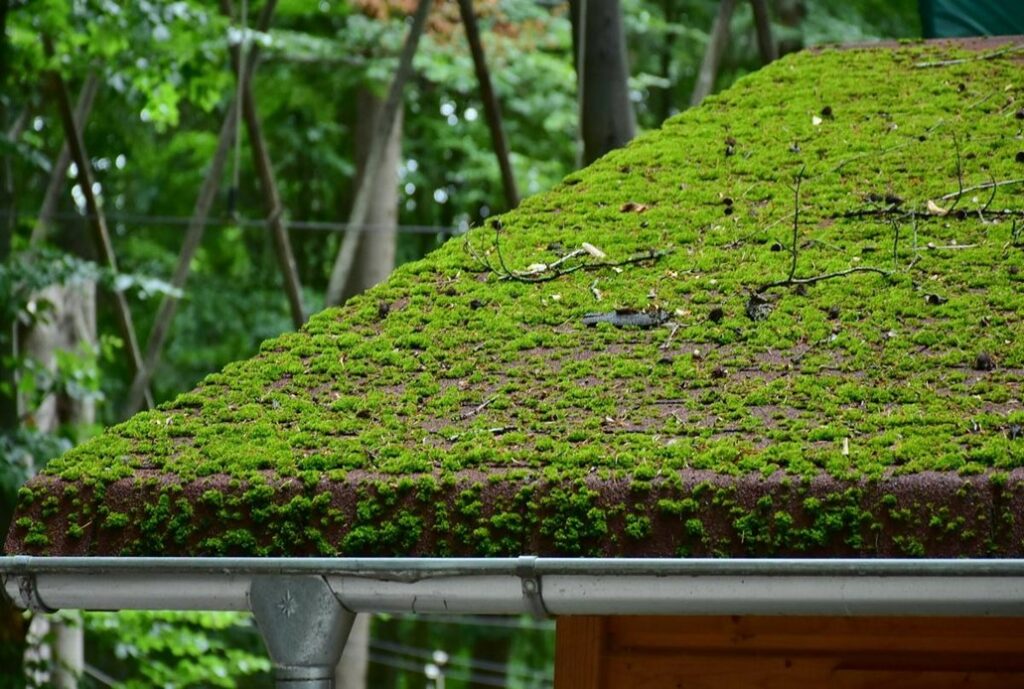
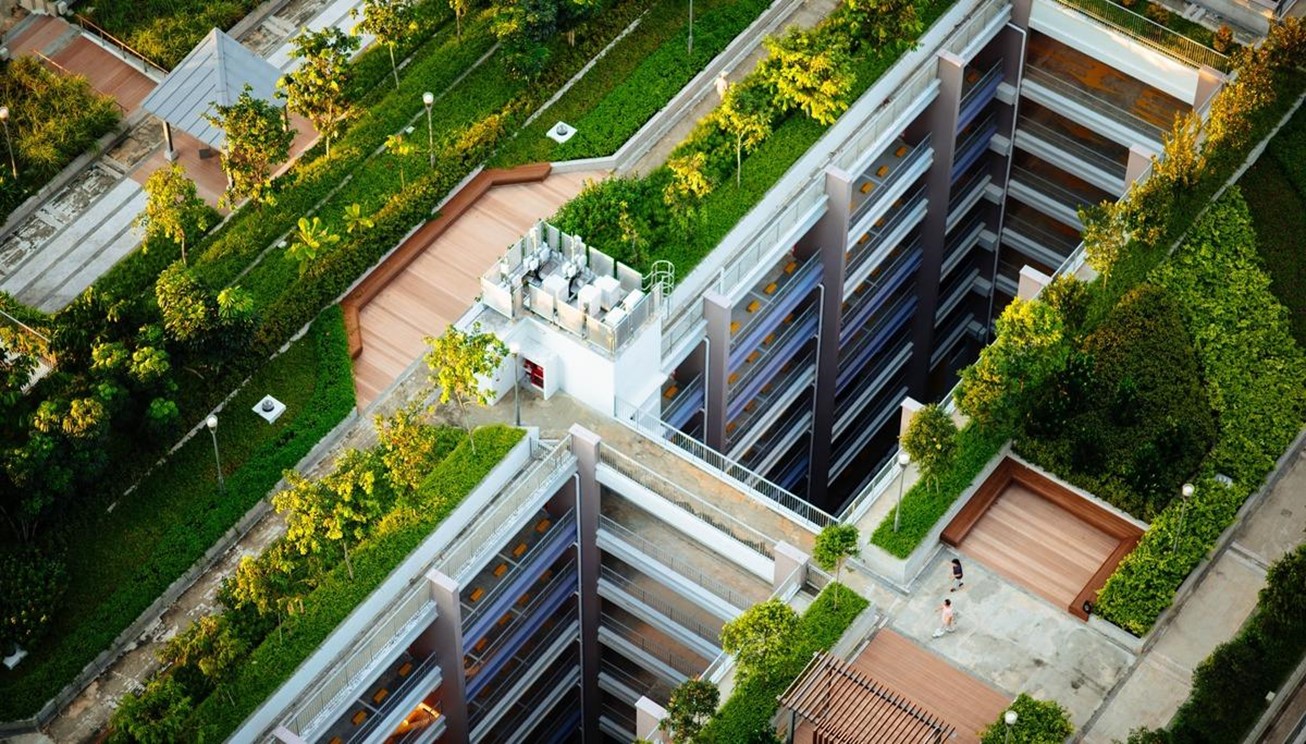
Green roofs are turning out to be one of the most attractive roofing trends of the 21st century. By definition, they are roofs that are covered entirely or in part by vegetation.
Living rooftops, as they are also called, provide several benefits, including positive financial and lifestyle changes. You can find out more about green roofs and their benefits here.
This article will dwell on how to build a green roof. As an architect with a focus on building sustainable structures, I should warn you that this is far from an easy DIY project. There are at least 4 types of green roofs:
- Extensive
- Semi-intensive
- Intensive
- Bio-solar
Of these four, extensive green roofs are the best suited for DIY projects.
Factors to Consider When Building a Green Roof
With the right guidance and materials, you can build your own living rooftops. However, you’ll have to consider the following factors before getting started:
Roof Type and Slope
The first factor to consider when building a green roof is the type and slope of your roof. Flat or slightly sloping roofs are ideal for green roofs, while roofs with a steep pitch may require additional structural support. Additionally, the slope of your roof will determine the thickness of your growing medium and the types of plants you can use.
Weight of the Roof
Green roofs can be heavy, and it’s essential to ensure that your roof can support the weight of the growing medium, plants, and any additional features, such as pavers or furniture. Consult with a structural engineer to ensure that your roof is strong enough to support the weight of your green roof.
Insulation
Green roofs are excellent for insulation, but you should still consider adding a layer of insulation, such as a thin foam or layer of building felt, beneath the growing medium.
Edging
Edging serves as a barrier to prevent the growing medium from sliding off the roof during rain or wind. Use a high-quality edging material that is compatible with your roof’s membrane and can withstand exposure to the elements.
Soil Mix
For extensive green roofs, use a lightweight and shallow soil mix with good drainage, such as a mix of peat moss, perlite, and vermiculite. For intensive green roofs, use a deeper soil mix with more organic matter, such as compost or topsoil.
Components of a Green Roof System
Any green roof system can’t be completed without some crucial components. They are listed below:
Waterproofing membrane
This is the layer that will prevent water from leaking into your building. This could be asphalt, a bitumen membrane, or liquid waterproof. It’s important to choose a high-quality, durable material that can withstand extreme weather conditions.
Root Barrier
A root barrier protects the waterproofing membrane from damage caused by roots. The barrier can be made of plastic or rubber and should be installed before the drainage membrane.
Drainage layer
This layer helps to drain excess water away from the roof. It can be made of materials like gravel or plastic drainage mats.
Filter fabric
This layer helps prevent soil from washing away and clogging the drainage layer. It’s typically made of a non-woven fabric that allows water to pass through while keeping soil in place.
Growing medium
This is the soil layer where your plants will grow. It’s important to choose lightweight, nutrient-rich soil that can support your plant selection.
Plants
Choose plants that are well-suited to your climate and the conditions on your roof. Drought-tolerant plants like succulents and grasses are a great option for green roofs.
How to Build a Green Roof: Step-by-step Guide
Before we dive into the step-by-step instructions, let’s first gather the necessary tools:
- Waterproof membrane
- Insulation board
- Protection layer (e.g. geotextile fabric)
- Drainage layer (e.g. gravel or expanded clay)
- Growing medium (e.g. soil or growing substrate)
- Vegetation (e.g. plants, grasses, or flowers)
- Roofing membrane adhesive
- Screws and washers
- Hammer
- Drill
- Measuring tape
- Utility knife
- Shovel or trowel
Now that we have all the necessary tools, let’s get started with the step-by-step instructions:
Step 1: Assess the Roof’s Structure
Before starting the green roof installation, ensure that your roof is structurally sound and can support the added weight of the green roof. Consult with a structural engineer if necessary.
Step 2: Install the Waterproof Membrane
Apply the waterproof membrane to the roof, ensuring that it covers the entire surface and is securely attached to the edges of the roof. Make sure to create a slope to allow for water runoff.
Step 3: Add the Insulation Board
Place the insulation board on top of the waterproof membrane, ensuring that it is cut to fit the dimensions of the roof. Secure it in place with screws and washers.
Step 4: Install the Protection Layer
Lay the protection layer (e.g. geotextile fabric) over the insulation board, ensuring that it is cut to fit the dimensions of the roof. Secure it in place with screws and washers.
Step 5: Add the Drainage Layer
Add a layer of drainage material (e.g., gravel or expanded clay) on top of the protection layer. Ensure that it is spread evenly and covers the entire roof.
Step 6: Add the Growing Medium
Add a layer of growing medium (e.g., soil or growing substrate) on top of the drainage layer. Ensure that it is spread evenly and covers the entire roof.
Step 7: Plant Vegetation
Plant vegetation (e.g. plants, grasses, or flowers) on top of the growing medium. Ensure that the vegetation is appropriate for the local climate and is suited to a green roof environment.
Step 8: Water and Maintain
Water the vegetation regularly, especially during the first few weeks of growth. Ensure that the growing medium stays moist, but not saturated. Maintain the green roof by removing debris and pruning vegetation as needed.